
Welcome to the trampoline assembly guide! This manual provides step-by-step instructions to help you safely and efficiently assemble your trampoline. Follow the safety guidelines and best practices to ensure a secure setup.

Safety Precautions
Ensuring safety is paramount when assembling and using a trampoline. Always follow these precautions to minimize risks:
- Adult Supervision Required: Assembly and use must be supervised by an adult to ensure proper setup and safe jumping practices.
- Keep Children Away During Assembly: Small children should be kept at least 25 feet away to avoid accidental injuries from loose parts or improper assembly.
- Avoid Improper Assembly: Do not use the trampoline until it is fully assembled and inspected. Improper assembly can lead to structural failures.
- Weight Limits: Adhere to the maximum weight capacity specified in the manual to prevent damage and ensure safety.
- Inspect Before Use: Check the trampoline for worn or missing parts before each use and replace them immediately if necessary.
- Soft Landing Surface: Place the trampoline on a soft surface like grass, sand, or wood chips to reduce injury risk in case of falls;
- No Shoes: Users should jump barefoot or wear soft, non-marking footwear to avoid damaging the mat and ensure better grip.
- Supervision: Always supervise children during use, and ensure only one person is on the trampoline at a time to prevent collisions.
By adhering to these guidelines, you can ensure a safe and enjoyable experience for everyone. Always refer to the manual for specific safety recommendations.
Tools and Materials Needed
To successfully assemble your trampoline, gather the following tools and materials:
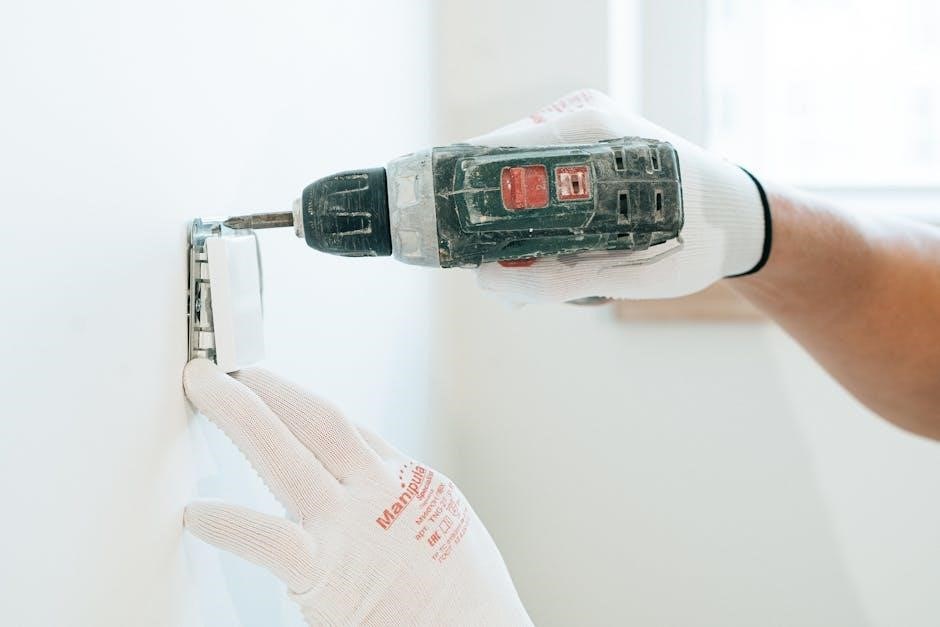
- Tools: A Phillips screwdriver, adjustable wrench, and rubber mallet are typically provided or required for assembly.
- Parts Included: Ensure all components from the packaging are present, including the frame, springs, jumping mat, enclosure net, and frame pad.
- Additional Materials: You may need a spring pull tool (optional) to securely attach the springs to the frame.
Keep all tools and parts organized to streamline the assembly process. If any items are missing or damaged, contact the manufacturer before proceeding. Optional items like a ladder or soft surface material (e.g., wood chips) can enhance safety during setup. Always use only the parts and accessories recommended by the seller to ensure compatibility and safety.

Step-by-Step Assembly Process
Begin with unpacking and inventorying all parts. Follow the manual to attach the frame, springs, and jumping mat securely. Next, assemble the enclosure and frame pad. Ensure all steps are completed by adults, organizing parts carefully to avoid missing components and ensure safety. Proper supervision is key to a successful setup.
4.1. Unpacking and Inventory
Begin by clearing a large, flat workspace and carefully unpack all components from the boxes. Ensure two adults are present to assist with handling heavier parts. Start by identifying the frame, springs, jumping mat, enclosure poles, and frame pad. Organize all hardware, such as screws, bolts, and Allen wrenches, in a designated area for easy access. Refer to the provided inventory list to verify that no parts are missing or damaged. Pay special attention to the instruction manual, as it contains essential diagrams and step-by-step guidance. Before proceeding, double-check that all items match the inventory list. If any components are missing or damaged, contact the manufacturer immediately. Proper organization and verification at this stage are crucial to ensure a smooth and safe assembly process. Always follow the manual’s instructions to avoid errors and potential safety hazards.
4.2. Attaching the Frame
To begin assembling the trampoline, start by attaching the frame. Lay all frame sections on a clean, flat surface, ensuring they are aligned properly. Use the hardware provided (bolts and screws) to connect the frame pieces securely. Tighten all connections firmly but avoid over-tightening to prevent damage. Once the frame is fully assembled, stand it upright and ensure it is stable. Double-check that all joints are secure and the frame is even. If the frame feels unstable, re-examine the connections and tighten as needed. Properly attaching the frame is crucial for the safety and structural integrity of the trampoline. Proceed to the next step only when the frame is stable and ready for further assembly.
4.3. Attaching the Springs
Once the frame is securely assembled, proceed to attach the springs. Locate the spring hooks on the frame and the mat. Begin by attaching the first spring to the frame and the mat, ensuring it is securely fastened. Repeat this process for each spring, working your way around the trampoline. Make sure each spring is evenly spaced and tightly attached to both the frame and the mat. Avoid over-stretching the springs, as this could damage them. If a spring is difficult to attach, do not force it; instead, adjust the positioning and tighten gradually. Use the provided tools, such as the spring hook tool, to simplify the process. Once all springs are attached, inspect each connection to ensure they are secure. Properly attached springs are essential for the trampoline’s performance and safety. Proceed to the next step only when all springs are correctly and safely in place.
4.4. Installing the Jumping Mat
After attaching the springs, carefully place the jumping mat onto the trampoline frame. Ensure the mat is centered and aligned with the spring hooks. Attach the mat to the springs by hooking the mat’s loops onto the spring ends. Start by securing the mat at one point and work your way around the trampoline, ensuring even tension. Make sure each spring is properly connected to avoid uneven stress. Tighten the springs gradually to maintain balance and prevent the mat from sagging. Once all springs are attached, inspect the mat for any wrinkles or misalignment. If necessary, adjust the springs to achieve a smooth, even surface. Finally, double-check all connections to ensure the mat is securely fastened to the frame. A properly installed jumping mat is essential for safe and enjoyable use of the trampoline.
4.5. Assembling the Enclosure
Begin by unpacking the enclosure components, including the net, poles, and any additional hardware. Attach the netting to the trampoline frame using the provided straps or ties, ensuring it is tightly secured. Next, assemble the enclosure poles by connecting the upper and lower sections, typically by snapping or screwing them together. Stand the poles upright and attach them to both the trampoline frame and the netting, ensuring they are evenly spaced and firmly secured. Finally, install the ladder or entry system if provided, making sure it is stable and properly attached. Double-check all connections to ensure the enclosure is stable and secure. For added safety, inspect the netting for any tears or loose threads and ensure all poles are tightly fastened to the frame.
4.6. Attaching the Frame Pad
Once the frame is fully assembled, proceed to attach the frame pad. Begin by unpacking the pad and ensuring it is free from any packaging materials. Align the pad along the outer edge of the trampoline frame, matching the pre-drilled holes or Velcro straps to the frame. Secure the pad tightly using the provided straps, ensuring it wraps snugly around the frame. Tighten all straps evenly to avoid any loose areas. Inspect the pad to ensure it covers all metal edges and provides adequate cushioning. If necessary, trim any excess padding for a proper fit. Double-check that the pad is securely attached and there are no gaps between the pad and the frame. This step is crucial for safety, as the frame pad protects users from potential impacts with the metal frame.
Final Inspection and Safety Check
After completing the assembly, perform a thorough inspection to ensure all components are securely attached and functioning properly. Check the frame for stability, making sure all bolts and screws are tightened. Inspect the springs for any signs of damage or wear. Verify that the jumping mat is evenly attached to the springs and lies flat without wrinkles. Examine the enclosure net for proper attachment to the frame and ensure there are no tears or loose connections. Test the ladder to ensure it is stable and securely attached. Finally, walk around the trampoline to ensure the frame pad is properly secured and covers all metal edges. Double-check that all safety features are in place and functioning as intended. Only after completing this inspection is the trampoline ready for use.

Usage Guidelines
Ensure adult supervision for children. Follow weight limits and age restrictions. Only one jumper at a time. Check the trampoline before each use. Keep the surrounding area clear.
6.1. Weight Limits
Adhere to the specified weight limits to ensure safe and enjoyable use. The maximum weight limit for most trampolines is typically 220lbs (100kg). Exceeding this limit can lead to frame damage or injury. Always check the manual for model-specific weight restrictions, as they may vary. Supervise children to ensure they do not exceed the limit. Multiple jumpers should not combine their weights beyond the maximum allowed. Ignoring weight limits can void the warranty and pose serious safety risks. Prioritize safety by adhering to these guidelines for a durable and enjoyable trampoline experience.
6.2. Age Restrictions
Trampolines are generally recommended for children aged 6 and above, with adult supervision required for younger users. Ensure that children under 6 years old do not use the trampoline without proper safety measures and constant supervision. The American Academy of Pediatrics advises that trampolines are not suitable for children under 6 due to the high risk of injury. Always enforce age restrictions to minimize accidents and ensure safe use. Adult supervision is crucial, especially for younger children, to teach proper jumping techniques and prevent risky behaviors. Never allow more than one child on the trampoline at a time, as collisions can easily occur. By adhering to these age guidelines, you can help create a safer environment for everyone to enjoy the trampoline responsibly.

Maintenance Tips
Regularly inspect the trampoline for wear and tear, clean the mat with mild soap, and tighten loose bolts. Store the trampoline in a dry place during harsh weather to ensure longevity.
7.1. Regular Inspections
Regular inspections are crucial to ensure the trampoline remains safe and functional. Begin by examining the frame for any signs of rust or damage. Check the springs for wear or corrosion, as they are essential for the trampoline’s bounce. The jumping mat should be free from tears, holes, or fraying edges. Inspect the enclosure net for any rips or loose connections to the frame. Additionally, verify that all bolts and screws are tightly secured. Perform these checks before each use and after adverse weather conditions. Addressing minor issues promptly can prevent major repairs and ensure safe enjoyment for years to come.
7.2. Cleaning the Trampoline
Regular cleaning is essential to maintain the trampoline’s condition and ensure safe use. Use a mild soap solution and a soft-bristle brush to gently scrub the jumping mat, removing dirt, leaves, or debris. Avoid using harsh chemicals or abrasive materials that could damage the mat or frame. Rinse thoroughly with clean water and allow it to dry completely before use. For the frame and springs, wipe down with a damp cloth to remove dirt or rust. Inspect and clean the enclosure net regularly, removing any debris or stains. For stubborn dirt, mix baking soda and water to create a paste, apply it to the affected area, and rinse after 10-15 minutes. Clean the trampoline after each use and perform a deep clean every month to prevent mold and mildew. Regular maintenance ensures longevity and safety for users.
7.3. Storage Tips
Proper storage is crucial for maintaining your trampoline’s condition and longevity. If you plan to store your trampoline for an extended period, disassemble it according to the manufacturer’s instructions. Clean all parts thoroughly before storage to prevent mold and mildew. Use storage bags or covers to protect the mat, springs, and frame from dust and moisture. Store the components in a dry, cool place, such as a garage or shed, away from direct sunlight and extreme weather conditions. Avoid leaving the trampoline outdoors during harsh winters or rainy seasons, as this can cause damage. Ensure all parts are completely dry before storing to prevent rust or corrosion. For seasonal storage, consider labeling and organizing the parts for easy reassembly. Regularly inspect stored items to ensure they remain in good condition. Proper storage will help maintain your trampoline’s safety and performance for future use.

Disassembly Instructions
Disassembling your trampoline is essential for storage, relocation, or maintenance. Start by detaching the enclosure net from the frame, ensuring all hooks or connectors are safely removed. Next, carefully release the springs that secure the jumping mat to the frame, using a spring tool to avoid injury from tension. Once the mat is free, remove it and set it aside for storage. Dismantle the frame by removing bolts or clips that hold it together, taking care not to strip any screws. Store each component in labeled bags or containers to keep them organized and protected from dust and moisture. Clean and dry all parts before storage to prevent rust or mildew. Consider applying a protective coating to metal parts to maintain their condition. Ensure the area is clear of children during disassembly and seek assistance if needed for handling heavy components. Proper disassembly ensures your trampoline remains in good condition for future use.

Troubleshooting Common Issues
If you encounter issues during or after assembly, refer to this section for solutions. A common problem is the trampoline mat not fitting securely to the frame, which can be resolved by ensuring all springs are evenly attached and tightened. If the enclosure net sags, check that it is properly hooked to the frame and consider tightening the net straps. Squeaky or unstable frames may need additional bolts or lubrication. For springs that are difficult to attach, use a spring tool to safely apply tension. If the jumping mat is misshapen, allow it to stretch naturally in the sun or manually adjust it. Always inspect for loose connections, as they can cause structural instability. For persistent issues, consult the manufacturer or contact customer support. Regular maintenance and inspections can prevent many of these problems, ensuring safe and enjoyable use of your trampoline.
Congratulations on completing the assembly of your trampoline! By following the instructions in this manual, you have ensured a safe and enjoyable experience for users of all ages. Always remember to prioritize safety, adhere to weight limits, and enforce age restrictions to minimize risks. Regular inspections and proper maintenance will extend the lifespan of your trampoline and ensure it remains a fun and secure environment for years to come. Encourage responsible use and supervise children during play to create lasting memories. If you encounter any issues, refer to the troubleshooting section or contact the manufacturer for assistance. Proper care and adherence to guidelines will ensure your trampoline remains a source of joy and physical activity for everyone. Happy jumping!